Follow These Easy Steps to a Happy Marriage
We have the clean Jeep truck body. We have a workable Suburban that happens to be an oil burner. Now we just need to figure out how to make the two into one. That is still in progress, I will not get into all of the details about everything going on, but I will give you the bare essentials and highlight the important things you need to know.
First off, obviously you need both a Full Size Jeep truck and (hopefully) a running Suburban.

Here you can see that Hyde got new doors. The old ones were giving me window problems and seeing as we are going with a totally new paint scheme, I decided it did not matter what color the new ones were.
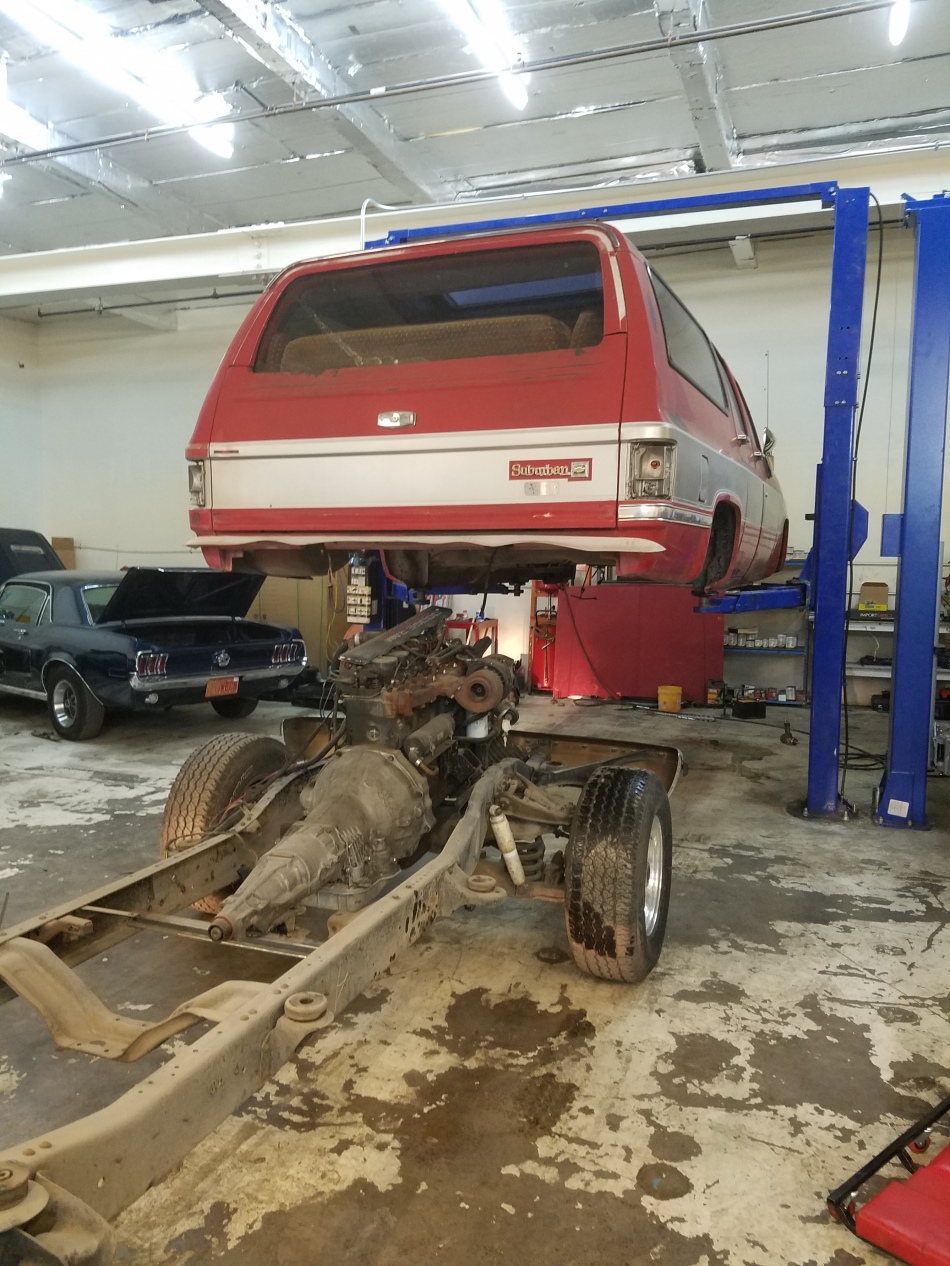
Pay no attention to the fact this particular truck is only 2WD. That will be addressed soon enough, and I realize I told you this would be a twin turbo setup, but pay no attention to the single turbo on there. In good time… You can see this 1988 Suburban is a good candidate for the body swap, and we have everything coming along here.
You can also see that I had the luxury of not one, but two lifts. That really makes the difference; I would not try and do this in my driveway.
The HOA would just LOVE that!!
We stripped down the two vehicles to get them ready for transplant. The idea is to put the J20 body onto the Suburban frame and see what it takes to bolt it up.


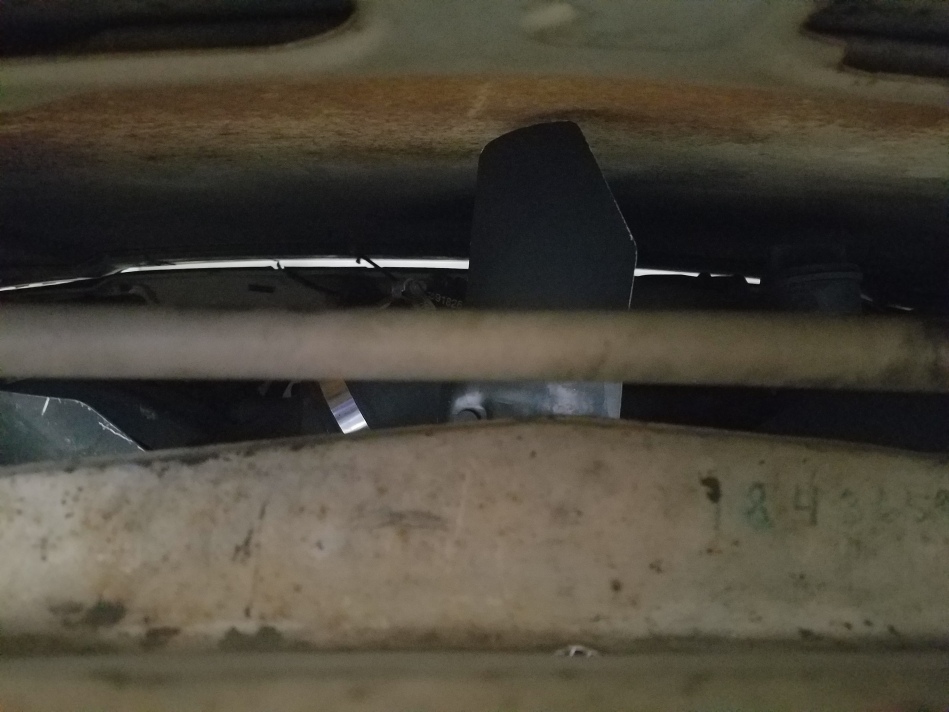
In these photos, the truck is on the Suburban frame and you can see that the J20 frame widens in the rear. We will definitely need to do something about this, but no worries; this is actually one of the easier things to fix. We had already chiseled the Suburban body mounts off and we were prepared to bolt up mounts to the J20 and see where they sat before tack welding them into place.
In true build fashion, we found that somebody had broken the welder gun on the MIG machine the night before. Classic! Needless to say, I was again without a welder. Still, we carried on!

This photo shows the clearance between the 6BT and the J20 firewall, tight quarters there! The last valve cover is removed, but I have it on hand.
Unfortunately, I had taken the grinder to my stock fenders when I figured I was going to need them to work on the FrankenJeep bed. Bad idea, as I now needed a set of fenders. I had one of my custom fenders on hand to see how the front clip lines up, but it did not give me a good enough representation of how this was really going to work. The reason I could not get a full looksee is the fact that one fender will not support the weight of the front clip and I needed to know where the core support and the grille were going to fit.

It did look like the tire was fairly centered to the wheel well, but again, this was a custom fender that had been stretched, so I was not 100% sure on how this was going to work with stock fenders. We did some brainstorming and figured out that we could build a brace to act as the aft part of the fender and that would make for a stock positioning of the core support and whatnot.

You can see here that the front tire lines up very nicely with the wheel well. From this point, we were able to complete the front clip and get the measurements for where things needed to be.
 This is going to be an EXCELLENT fit! Tony and I installed the hood to see what the height clearance was.
A little too tight for my comfort. We have figured out how to fix this too; I cut out metal body mounts and we decided that the best thing to do would be to set the mounts up higher at about 1-1.5” so when we put on the OEM rubber or poly mounts, I would end up with a 2-2.5” body lift. A lift like that would be more than enough to clear everything there.


These are the body mounts I fabricated to work for this. This set is for the rear of the truck, we realized that the rear Suburban mounts work perfectly for the front mounts of the J20.
That takes care of most of that!
There is still a very tight up front. I have a lot of fabrication figuring on what to do with this part.
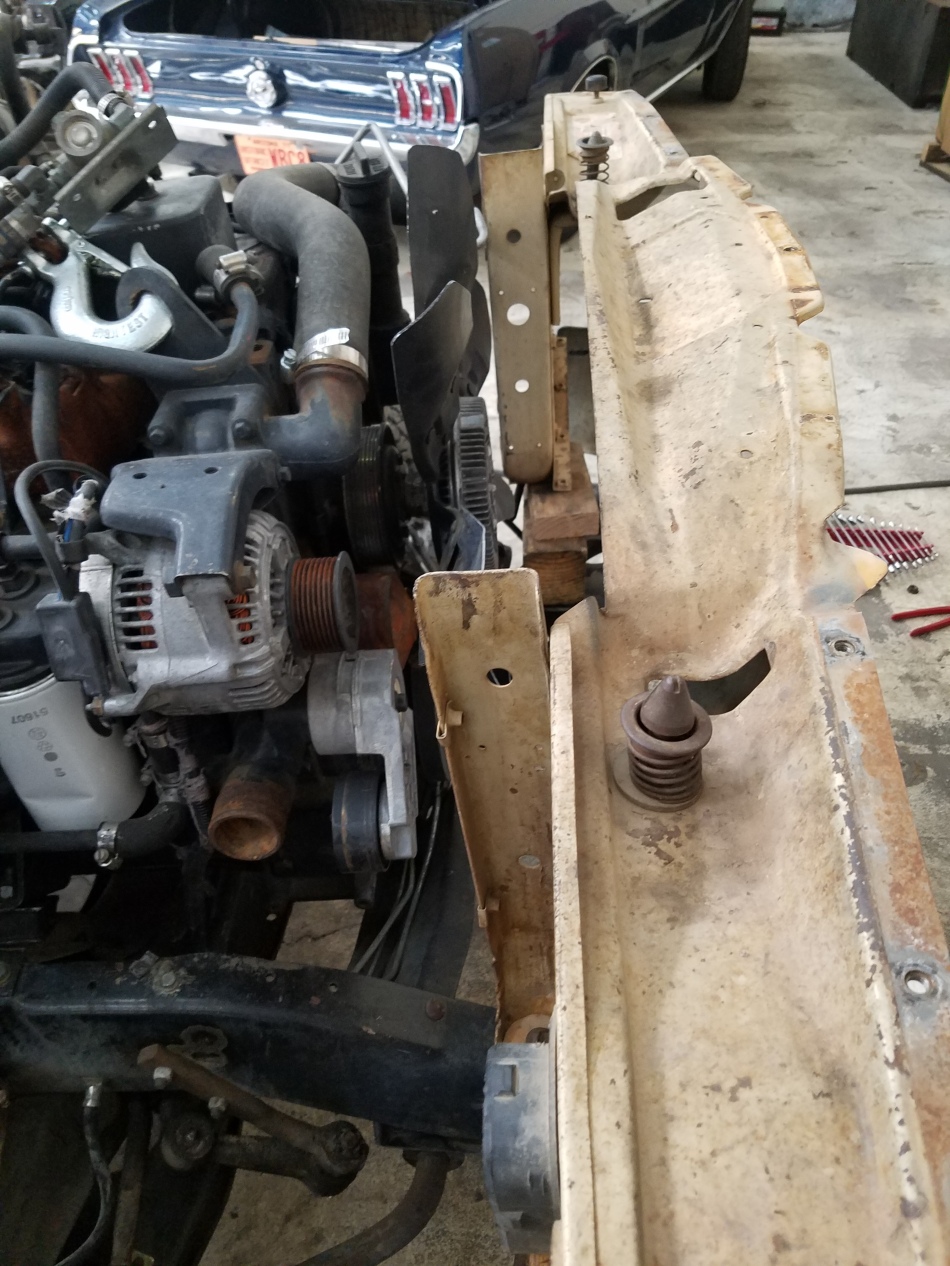
You can see that the fan has all but taken over the radiator placement. We decided that we could use the radiator mounts to house the fan shroud, and we will be doing some custom mounting of the radiator, the intercooler, the A/C condenser, plus the oil and transmission coolers. 20 pounds of crap in a five pound bag! We are pretty certain we can get this all to work out, planning and preparation is all that is needed.
I also came across a killer deal on axles, plus another sweet deal on wheels and tires. Chris had traded the Suburban body metal plus some of his own parts to a neighbor of his for a set of HD Dodge one ton axles – a Dana 44 front with kingpins and a single wheel Dana 60 rear. All he wanted was the money for his parts he used. It was such a great deal, I doubled it; after all, Chris has been there to help me out on so many different levels, I always like to help out when I can.
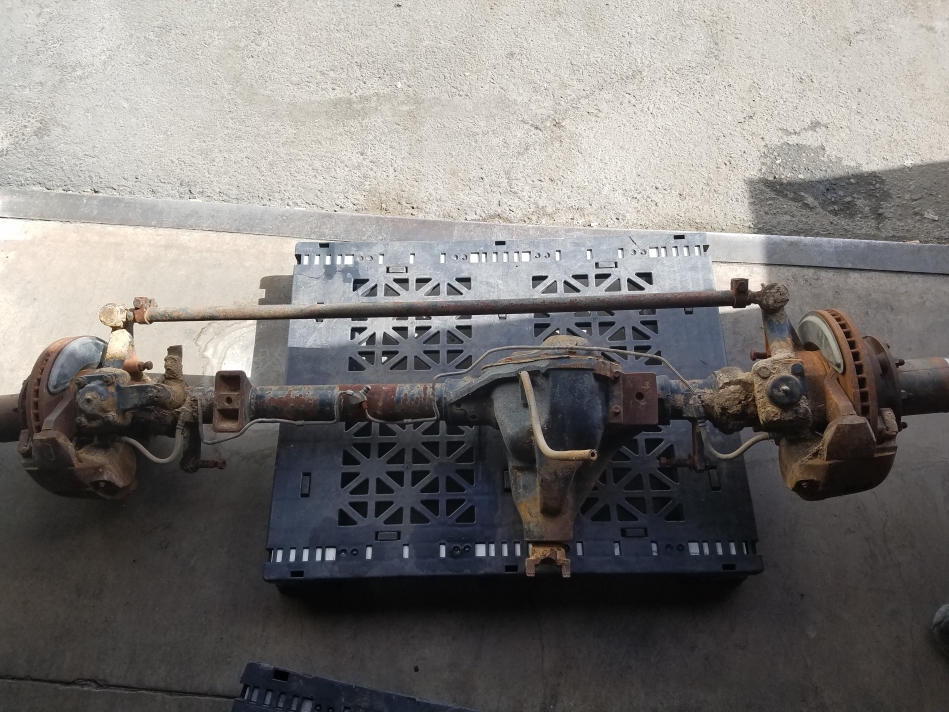

I was a little bit disappointed when I saw the rear had drum brakes, but I quickly got over that when I found out the axles were positive traction. We put wheels and tires onto the axles and lifted them high enough to spin; both tires went the same direction! Score!
I also found out that I will need spacers for the HMMWV (High Mobility Multipurpose Wheeled Vehicle [Humvee]) wheels to fit these axles.

These H1 two-piece wheels are going to look bitchin’ on Hyde, I cannot wait!! Cal totally hooked me up here!
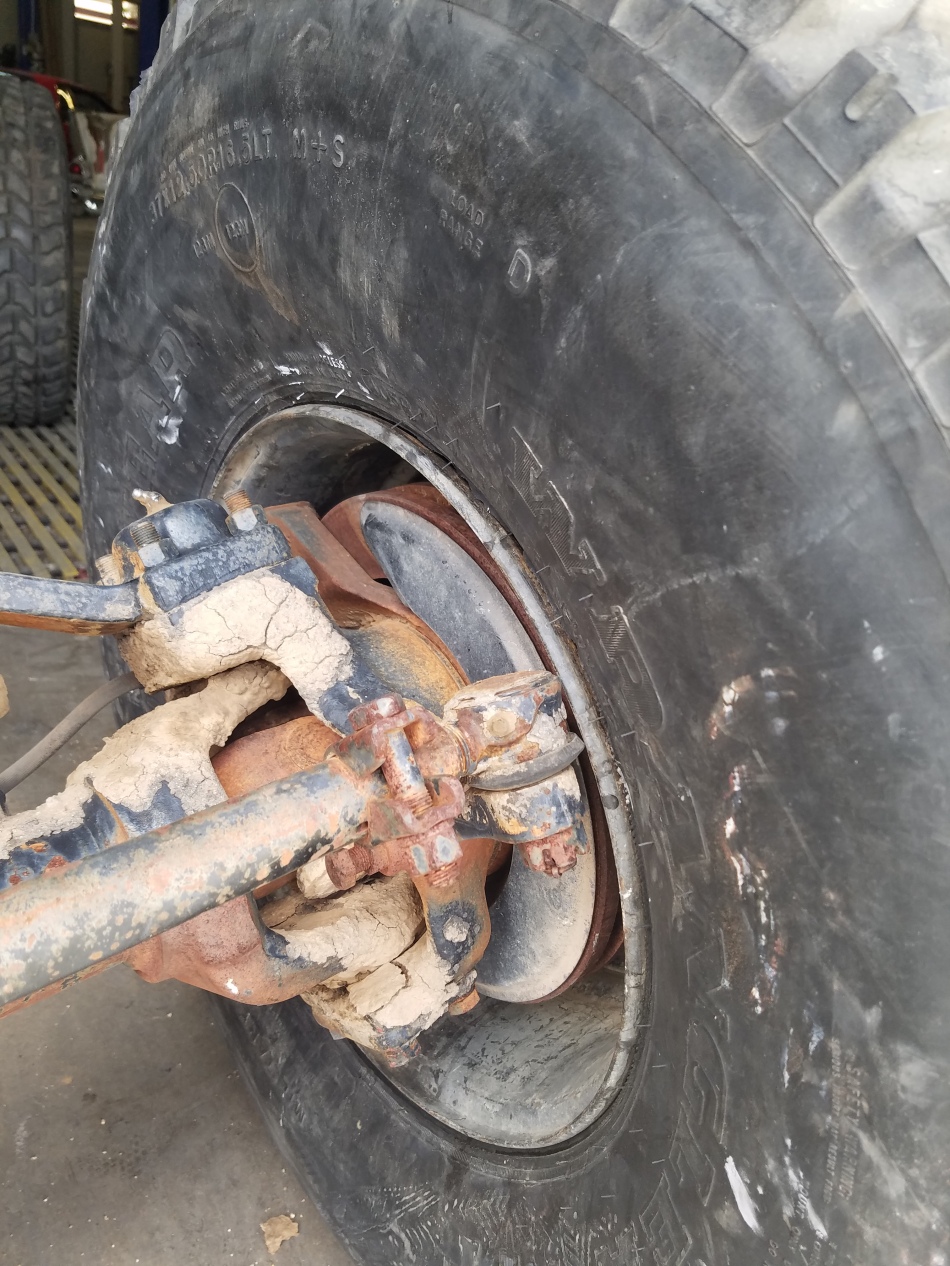
You can see where the wheel will rub on the end of the tie rod. No need to worry; I am on it, and am on the prowl for 2.5” and 3” spacers as I need those for the front and rear.

After we got the front clip all worked out, we found that the core support needs to go about five inches back and four inches higher, but we got this! Custom mounts are being made to fit the core support right where it needs to be.

I still have a lot of work to do here, but you can see that it is coming along very well! I will keep you up to date on how this build goes.
Until next time…

Leave a comment